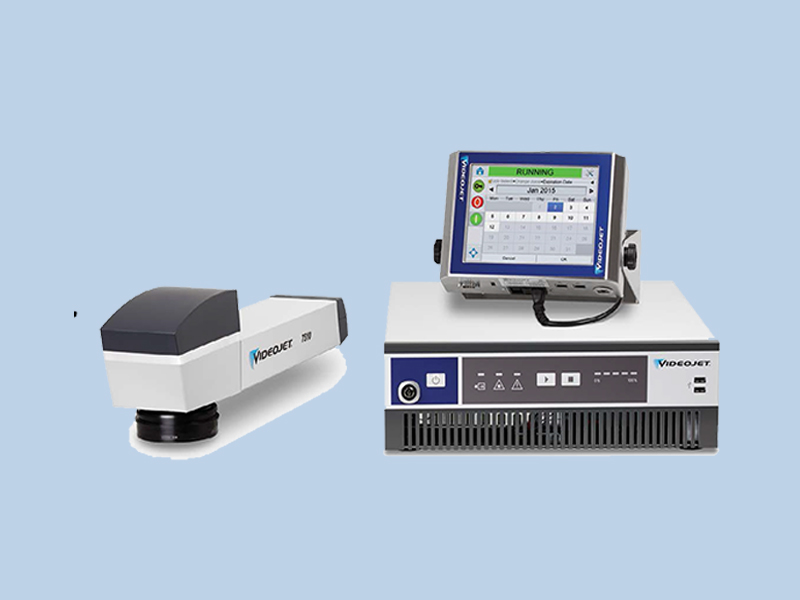
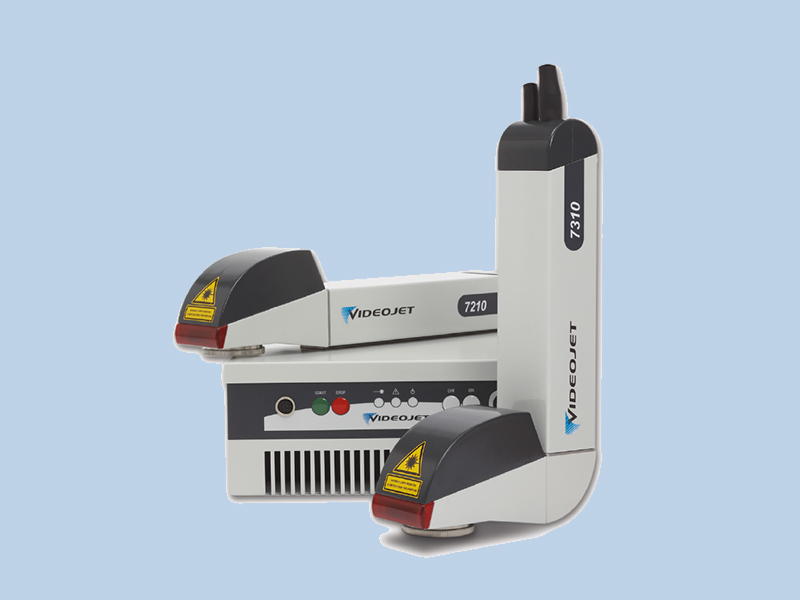
Operation process of the laser marking machine: The steps of starting the laser marking machine are as follows: 1. Check the power line of the marking machine to ensure that it is correctly and reliably connected; 2. Insert the key switch and turn it 90o clockwise to the "ON" position to connect the main power supply. The power indicator is on; 3. Confirm that the mushroom button (emergency stop switch) of the laser head is pressed; 4. Turn on the power switch of computer monitor and computer host; 5. Rotate the red mushroom button in the direction of the arrow to make it pop up, and then connect the power supply of the laser head. After about 1 minute, the laser head is started; 6. Remove the lens cover; At this point, the laser marking machine has been started and can accept the operator's command for marking operation. Marking operation 1. Double click the marking program icon to enter the program; 2. Select the marking file, double-click the date and time in the content to modify it, and click OK to complete the modification; After the production task is finished, the operation steps of turning off the laser marking machine are as follows: 1. Press the red mushroom button (emergency stop switch) to cut off the power supply of the laser head; 2. After confirming that the IPC does not run any software, exit and shut down normally; 3. Turn the key switch 90o anticlockwise to the "off" position, turn off the main power supply of the marking machine, and the power indicator is off; 4. Unplug the key and have it kept by a specially assigned person for future use; 5. Close the lens cover. If you want to know more about the laser code printer, we recommend Videojet laser code printer. With the improvement of production line speed and coping with more onerous production tasks, manufacturers need simpler and more efficient laser coding machines to provide high-quality coding for their products. Videojet provides you with various types of high-performance Co2 laser coding machines, which are suitable for large format substrates, and almost all applications are easy to integrate. The design of the lightweight CO2 laser inkjet printer meets the requirements of large format code printing, and has simple setting and operation, with enough flexibility. Welcome to contact us for advice on laser code printer
The steps for starting the laser marking machine are as follows: 1. Check the power line of the marking machine to ensure that it is correctly and reliably connected; 2. Insert the key switch and turn it 90o clockwise to the "ON" position to connect the main power supply. The power indicator is on; 3. Confirm that the mushroom button (emergency stop switch) of the laser head is pressed; 4. Turn on the power switch of computer monitor and computer host; 5. Rotate the red mushroom button in the direction of the arrow to make it pop up, and then connect the power supply of the laser head. After about 1 minute, the laser head is started; 6. Remove the lens cover; At this point, the laser marking machine has been started and can accept the operator's command for marking operation. Marking operation 1. Double click the marking program icon to enter the program; 2. Select the marking file, double-click the date and time in the content to modify it, and click OK to complete the modification; Marking test and printing position 1. On the workbench or production line, place a test piece with the same height as the marking workpiece (it is better to select the marked workpiece as the test piece), and confirm that the test piece is firmly placed; 2. Mark by operating the marking control software. In order to achieve the best marking effect, the following steps can be adjusted: 1) Adjust the focus by adjusting the light head lifting device; 2) Adjust parameters such as power and marking speed in marking software; 3) Enter the software, double-click the printing date, and drag the mouse up and down to adjust the printing position to the appropriate position. 4) After the above steps are completed, print test can be carried out. 5) After the test is correct, re mark the workpiece. After the production task is finished, the operation steps of turning off the laser marking machine are as follows: 1. Press the red mushroom button (emergency stop switch) to cut off the power supply of the laser head; 2. After confirming that the IPC does not run any software, exit and shut down normally; 3. Turn the key switch 90o anticlockwise to the "off" position, turn off the main power supply of the marking machine, and the power indicator is off; 4. Unplug the key and have it kept by a specially assigned person for future use; 5. Close the lens cover.
The order of switching on and off of the laser marking machine has a very important impact on the wear and tear of the laser marking machine. Therefore, scientific switching on and off methods are conducive to extending the service life of the laser marking machine. The starting sequence of the laser marking machine is: (the machine can only be started after checking the waterway and circuit) ① Turn on the incoming power supply and turn on the key switch. At this time, the machine ventilation and refrigeration system are powered on, and the ammeter displays a value of about 7A; ② Wait for 5 to 10 seconds, press the trigger button on the external control panel, and the ammeter displays a value of zero. After 3 to 5 seconds, the krypton lamp lights up, and the ammeter displays a value of 7A. (Refer to the laser power supply operation manual); ③ Turn on the galvanometer power supply; ④ Open the computer and call out the required marking file; ⑤ Adjust the laser power supply to the working current (10~18A) to start marking; 2. After the completion of laser marking, the optical and mechanical sequence of the marking machine: ① Adjust the working current of the laser power supply to the minimum (about 7A); ② Turn off the computer; ③ Turn off the power supply of galvanometer; ④ Press the stop button; ⑤ Turn off the key switch; ⑥ Disconnect the incoming power supply. The reason for this is that when the galvanometer power supply is turned on, the current is very high, so turn on the galvanometer power supply first, and then turn on other power supplies after the current and voltage are stable. When turning off the galvanometer power supply, the current and voltage are also unstable, so turn off other power supplies first, and then turn off the galvanometer power supply.